Information and communication technology Education at our school.
Below is a brief summery about the ICT practical sessions held in the different class.
| Class | Practical topics |
| Senior one And senior Two | Microsoft Office Packages |
| Senior Three | Computer-Networking,
Graphics designing. ( 3D Modelling) Computer Repair and maintenance, |
| Senior Four | Computer programming- Coding.
Artificial Intelligence Computer Visualisation |
| Senior five and six. | Review of the Microsoft office packages
Graphics designing –publisher and animator. Software Installation and Upgrade Computer Troubleshooting. ( Repair and maintenance) |
LESSON PLAN
TOPIC: CREATING 3D GRAPHICS
This lesson provides a perfect introduction to some of the foundation concepts around 3D shapes
SOFTWARE: Sketchup.
OBJECTIVES OF LEARNING 3D MODELLING USING SKETCHUP.
- Identify the learning objectives
- Learners to understand computer-based 3D design as used in architecture drawings.
- To explode 3D models images o see what shapes they comprise of.
- To look at real world structures and identify the shapes that they include.
- Students to learn how to plan and elevations their own 3D building design.
- To obtain skills needed to analyse a 3D model
- To identify objects needed in designing a 3D model
- To acquire skills and the ability to combine objects in a design
- To boosting Imagination and Creativity
- Students use the 3D acquired to create their own projects like designing animals, birds, games and others.
- To open up students for future Career Opportunities. 3D modeling t opens up great prospects for anyone who wants to master graphics.
- To Improve Problem-Solving Skills with 3D Modelling
- To help in Improving Visual Skills
- To develop students’ self-esteem through equipping them with special abilities.
Students Understand the Specifications of the computer or laptop on which to install sketchup
- 1+ GHz Intel™ processor.
- 4GB RAM.
- 1GB of available hard-disk space.
- 3D video card with 512 MB of memory or higher and.
- 3-button, scroll-wheel mouse.
Students understand how to install SketchUp
- Log in to the computer with a user account that has administrator rights.
- Double-click on the EXE install file. …
- Click next in the Welcome dialog box.
- Installing .NET Framework.
- Perform a computer reboot after installing .NET frameworks
- Click I accept the terms of this license agreementbutton in the End User License Agreement if you agree to the terms.
- Click the Nextbutton to install SketchUp in the default location.
- Click the Installbutton if you’re satisfied with the settings.
- Click on the Finishbutton when prompted.
- Launch SketchUp once before logging out of the administrative user account. If you have a SketchUp Pro license, please be aware that you must authorize while logged in to an administrative account. See the links below for help authorizing.
Students Use Sketchup to design
THE CIRCLE TOOL
Students draw a circle by specifying a center point and a radius. This is done by accessing the circle tool and clicking on the circular icon in your toolbar, or pressing the “C” key on your keyboard.
Students under the teacher’s guidance take measurements using the bar in the bottom right hand corner of the screen, this gives you an option to select the number of sides in your circle.
Students create circles in SketchUp by setting a center point for the circle and defining a radius length. The radius of a circle is ½ of the full width of the circle.
The radius is created by clicking again on the screen or by typing in the length of your radius and hitting the “enter” key on your keyboard.

THE RECTANGLE TOOL
The rectangle tool is obtained by selecting the drop down arrow next to the circle on your toolbar and clicking on the rectangular icon, or by using the keyboard shortcut, which is the “R” key.
On the toolbar, from the Shape Tools menu, select the Rotated Rectangle tool ( ). Or select Draw > Shapes > Rotated Rectangle from the menu bar.
- (Optional) Press an arrow key to set the plane for your rotated rectangle, per the table that appears earlier in this article. For example, press the left arrow key to constrain the plane of your rotated rectangle to the green plane.
- Click once to set the first corner of your rectangle.
- Create the first edge of your rotated rectangle. You can do this in two ways:
- Type a precise measurement and press Enter.

Assessing Students’ work by the teacher
The teacher assesses the diagram by analyzing the finalized drawing to ensure that the student has softened the edges and also added texture.
The joy of drawing by hand and transforming the image into a super smart 3D drawing or picture with the help of different modelling software which helps design delightfully, collaborate clearly and build better buildings.
Computer repair and maintenance

This involves general update of the computer system including hardware and software components. Here the teacher takes the students through activities like troubleshooting simple hardware errors, installing new hardware components in the computer system, installing operating systems plus the accompanying application packages, updating and upgrading any software set up.
It also involves general cleanliness of the computer system. This involves activities like blowing, whipping the external components with a dump piece of cloth or cotton, maintaining the general cleanliness of the computer room.
All these activities are taught to the students and the teacher is to ensure full student participation.

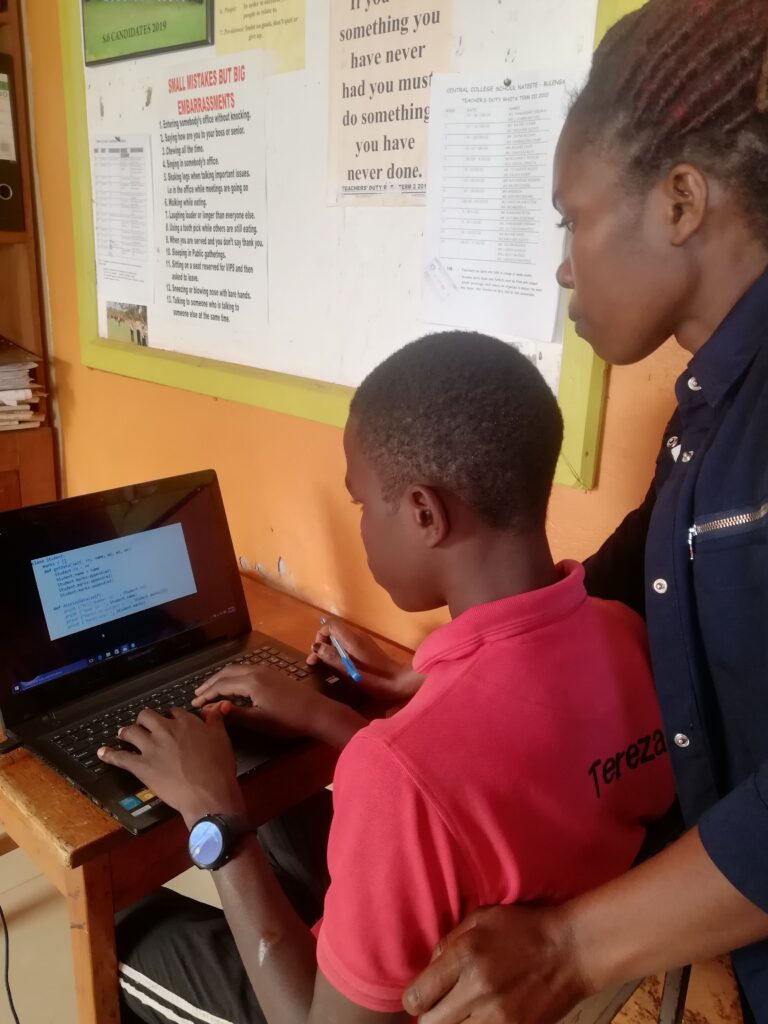
Computer programming.
We mainly introduce our students to junior or initial coding packages. We introduce them to c programming and Java script. Here we start by developing simple programs like displaying the name of the school and also designing simple codes that manipulate a few calculations.
The main emphasis is for the students to understand the syntax and also also develop simple algorithms using Java and c programming.


